Friday, December 30, 2016

2016 Completed Projects

Not a bad year...
#1 - Oopsie Daisy (pattern available here)


#2 - Pinwheel Party (pattern available here)

#3 - Maker's Tote (pattern available here)

#4 - Sailing (pattern available here)

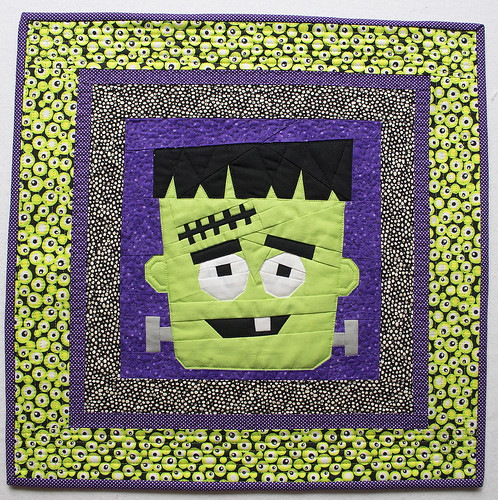
#5 - Frankie Mini

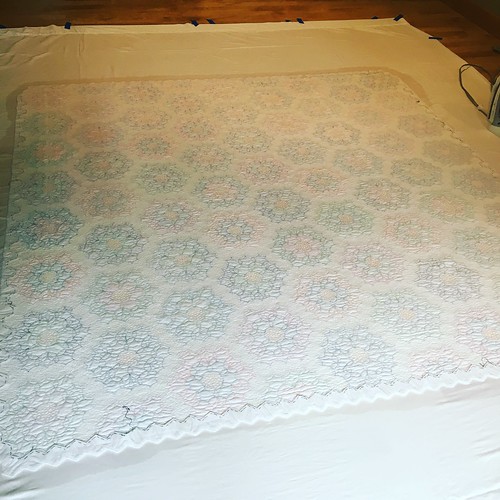
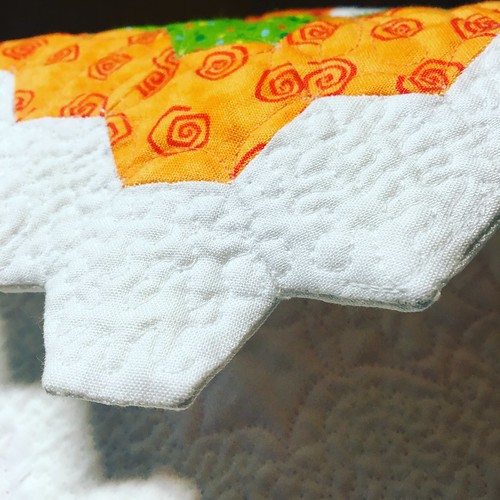
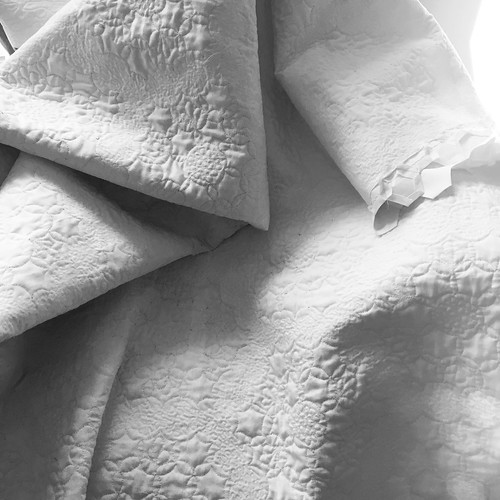
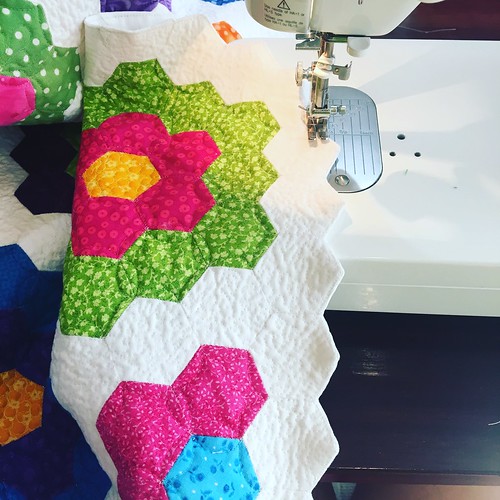
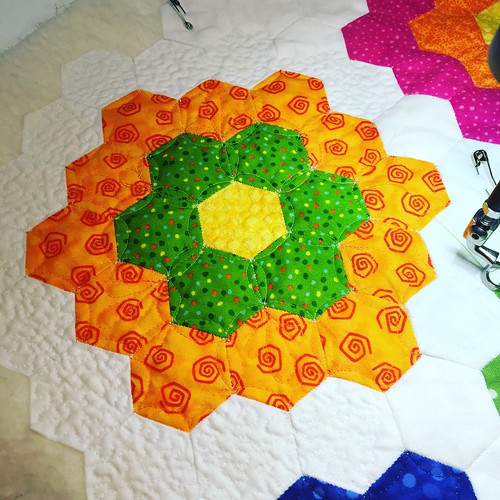
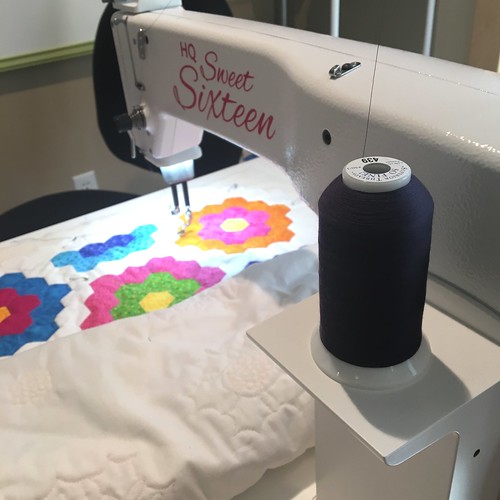
#6 - Grandmother's Flower Garden - a doozie!

#7 - Owl Pincushion (even the little ones count, right?)

#8 - Drawstring Bag

#9 - Windswept St. Nick

#10 - Dare to be Different (Plus Quilt)

#11 - Mini Plus Quilt

That's 11! This has been my most productive year since 2009.
For more details about all these projects be sure to check out Twiddletails on Instagram and Facebook.

Saturday, November 26, 2016

Plus Quilt Top Completed!

Finished my plus quilt top at retreat last weekend. Calling it "Dare to be Different".
Another one added to the "to be quilted" list.

Stay tuned for a tutorial/pattern as soon as I get a chance.

Friday, November 25, 2016

Super Quick Ironing Table Cover

This past week I bought myself an early Christmas gift. Isn't she the prettiest thing?

I unpacked her and was ready to start ironing but just couldn't bring myself to even put her down on this:
This morning I quickly made a replacement cover for the ironing table. Here's how:

Cut a piece of fabric 3" bigger on all sides than your ironing table/board. (These instructions are for a square or rectangular ironing surface.)

Mine is 20" x 40", so I cut the fabric 26" x 46".

Fold over a 2" triangle on each corner and press. Then fold all edges over 1/2" and another 1/2".
Sew all around close to the edge.
Cut a piece of elastic half the circumference of the ironing surface, in my case 60".
Using a safety pin, string the elastic through the pocket you created and pin or sew together the ends. I just pin them because I reuse the elastic every time I make a new cover.
Carefully pull the cover onto the ironing board.  My board just sits loose on a metal shelving unit from Target.
It's not pretty, but it works:
And there we go. So much better! And really pink!
(And it only took 15 minutes.)

Friday, November 11, 2016

Update - Completed Projects

Cleaning up the blog this morning and realized that I never posted photos of a couple of my completed projects for this year!

First up, my Maker's Tote using Noodlehead's pattern.


I also finished the sailboat quilt and published a pattern for it.


And last, but not least, the Oopsie Daisy quilt, using a Darlene Zimmerman pattern.

OK, now I can update my sidebars!

Wednesday, November 9, 2016

Finding a Focus and Letting Go

While at the International Quilt Festival in Houston this past week, I took a couple of classes. They were all really good, as is usually the case.

One was a workshop by Jane Dunnewold, an amazing surface design artist. It was called "Creative Strength Training" and provided a lot of food for thought in quite a few areas, including how to find your "mojo" when you lose it. OK, that sounded weird, but you know what I'm talking about, right?

During the workshop I had a giant "aha" moment. I've been struggling with finding a focus, what Jane calls your "distinctive voice".

I mentally mulled through quilts I've made and projects in progress or being planned, and focused on the ones I love, the ones that make me happy and excited.

The following projects came to mind:
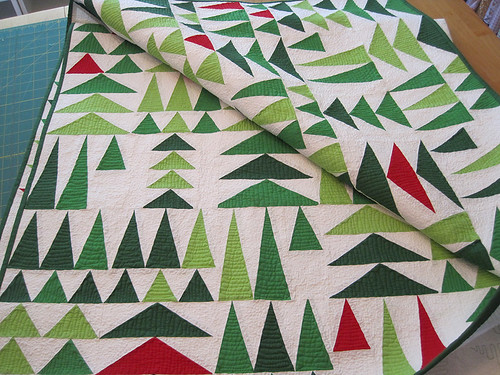
Geese in the Forest
Geese in the Forest Quilt
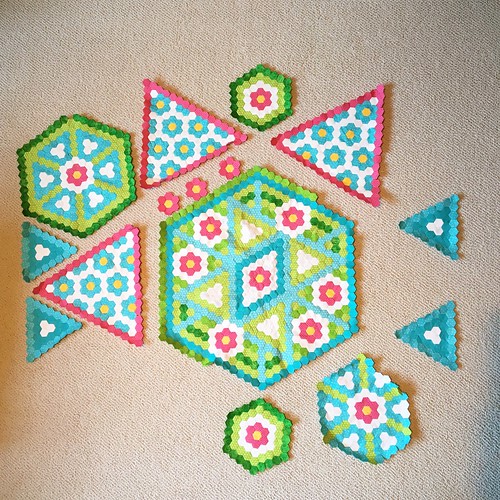
Daisy Chain - my current hexagon project
IMG_5974
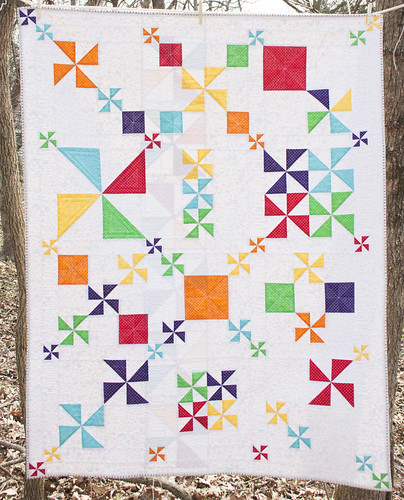
Pinwheel Party
Pinwheel Party Quilt
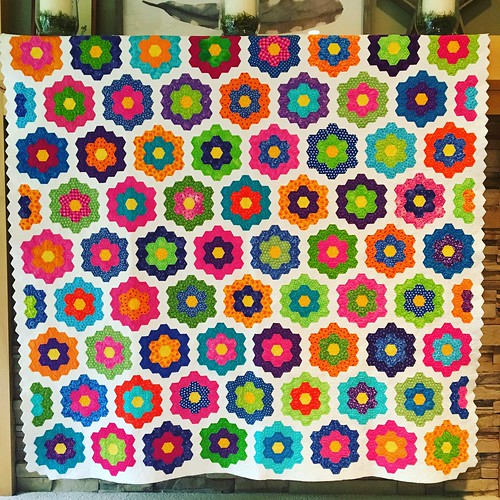
Grandmother's Flower Garden
IMG_6950
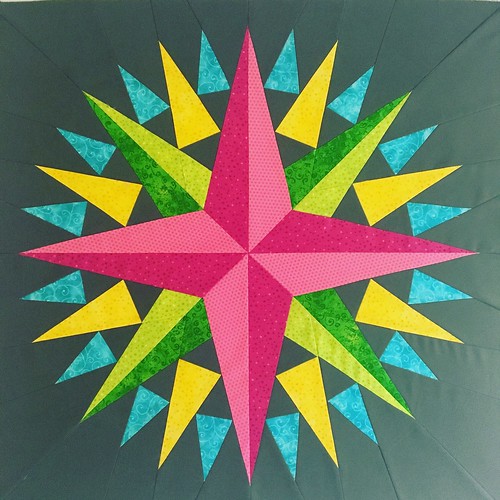
my current, as of yet unnamed, Mariner's Compass project.
IMG_8216
Hmmm...what do they all have in common? The next day I walked through the quilt display at Festival again and took photos of the quilts that "spoke" to me.

Next I'm going to go through my trunks of completed quilts and assess which ones I love and which ones are just ok.
I think I'm going to find my voice!

I've already decided on a couple of UFO's and WIP's I'm going to ditch. It's a like a weight has been lifted from my shoulders.

All this being said, I know that many quilters love to dabble in different things, and I think that's a wonderful thing.
I do, however, think that my lightbulb moment could be freeing for many.

Do you have projects you feel you "have" to finish? You know, those ones that make you feel guilty about starting something new because they are lurking out there "needing" to be tackled? Projects that are preventing you from working on something more enjoyable?

Maybe it's time to let them go. Donate them to your guild's next charity auction, Goodwill, even a friend who's been admiring them for a while and will give them the love and attention they deserve.

Thursday, September 8, 2016

Just a Little Update

Gee, it's once again been a while! I'm trying to get my act together, I swear I am.
I finally finished the Bright Grandmother's Flower Garden quilt I started back in 2007! You can see my original post here.
The very first photo I shared:

And here she is, more than 9 years later!
IMG_6950
If you'd like to see her in real life, she'll be at the Des Moines Area Quilt Guild's show, which runs concurrently and in the same venue as AQS Quiltweek in Des Moines, October 5-8 2016.
A couple of progress and detail pics:
IMG_6696 IMG_6617 IMG_6525 IMG_6687 IMG_6259 IMG_6252

Thursday, August 11, 2016

Bullet Journal: Yes or No

WARNING: Non-quilty post!

You may have seen a lot of posts about Bullet Journals popping up all over social media (and even real media).
If you don't know what I'm talking about, just search Bullet Journal on Pinterest or #bulletjournal on Instagram. The official website is bulletjournal.com.
It is basically an analog way to organize your life, plan, journal, and pretty much whatever else you would like to put in there. The idea is to have it all in one place and easy to find.

(I'm going to have to do several posts on this topic because, if you're attention span is as short as mine, I'm probably already losing you.)


Reasons I think this may work for me:
1. I already kind of do this. Just not in quite as organized a fashion. I have multiple notebooks for different things (see photo above) and, truth be told, most them are rarely looked at.
2. I'm a list person. I love lists. I love structure in my life.
3. I LOVE stationery. I know it's weird but I also know I'm not the only person who cannot resist a stationery store.


Soooo...I decided to give it a shot. I already knew that I wanted to tweak the original idea a little.
(I'm writing this post assuming you already know the principles of bullet journaling. If not, I suggest watching the video on their website first.)

Three days ago, I grabbed a cheap composition book and got going. It's not ideal but I wasn't about to spend $20+ on a journal/notebook and messing it up.

I'm going to start off by focusing mainly on the daily/weekly log. I like to see my whole week at a glance. Here's my messy first version:
See why I didn't want to start off in a pricey journal?

In my next post I'll share my small notebook vs. large notebook dilemma.

Tuesday, August 2, 2016

Pattern Release! Frankie the Monster

After what feels forever, I finally released the paper piecing pattern for the Frankie block yesterday!
Frankie
The pattern is for the block only, but I made the little quilt using the free pattern for the 16" x 16" pillow cover on the website and just didn't add the pillow back.

(The "googly eyes" fabric is available in the store over here and the narrow border and binding is Dottie Tiny Dots from Moda.)
Friday, July 29, 2016

How to Foundation Piece Splendid Sampler Block 46

My Splendid Sampler blocks are coming along nicely. I've actually managed to stay mostly up to date. (Be sure to check my Instagram feed if you'd like to see all of them.)

Ever since I started working on my Baby Jane quilt, I tend to always check whether block instructions can be converted to foundation piecing.

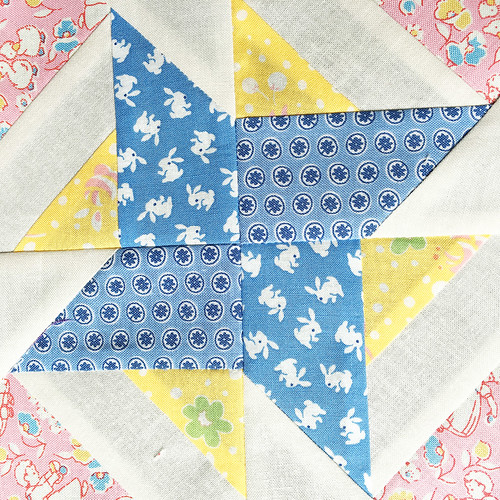
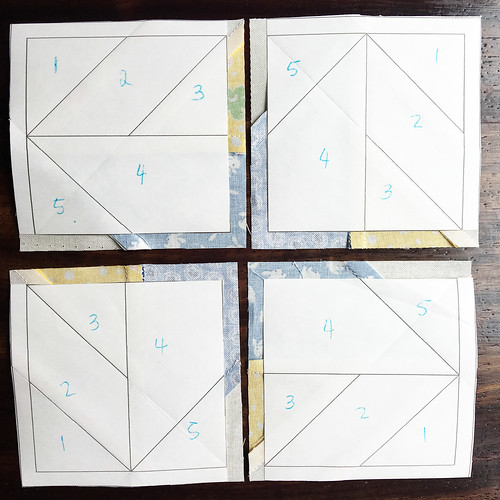
When I saw The Splendid Sampler Block 46, "Twirl Time", by Sarah J. Maxwell, I knew this one would be quicker to paper piece than rotary cut. One caveat: as with applique, paper pieced blocks will turn out to be a mirror image of the pattern. I keep forgetting this. Sometimes it works out well, sometimes it doesn't. This time it did. Phew! The block is a mirror image but it's still a twirly whirly and I'm OK with that.

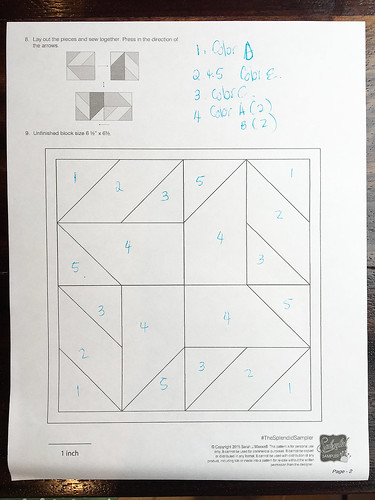
If you're interested, here's my numbering for the block:

IMG_6465

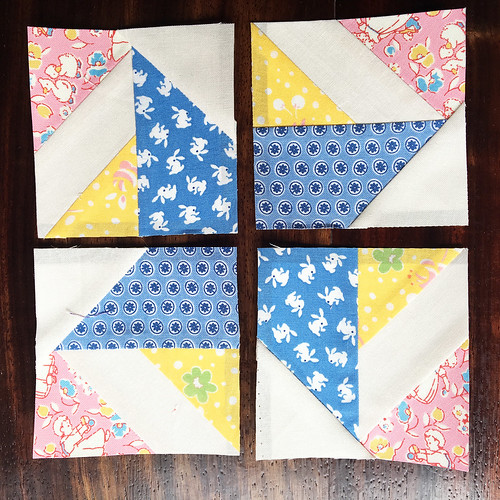
Cut it into the four sections and foundation piece. I almost always use the freezer paper method. The link to my tutorial is in the sidebar.

Here's the back after piecing and trimming:
IMG_6466

And the front:
IMG_6467

All sewn together:
IMG_6468

Tuesday, June 28, 2016

Trying again

A couple of months ago, I decided to give blogging another try, since I thought I'd figured out a way to make the photo posting process a little less time consuming. I was not happy with the results of blogging directly from my phone. During Blogger's size reduction process a lot of detail was lost.
For this attempt, I'm using my Macbook to upload photos from my Photostream to Flickr and posting the Flickr photos.
Let's see if that is more successful. If so, it will also allow me to blog from the couch. Score!
So here goes...

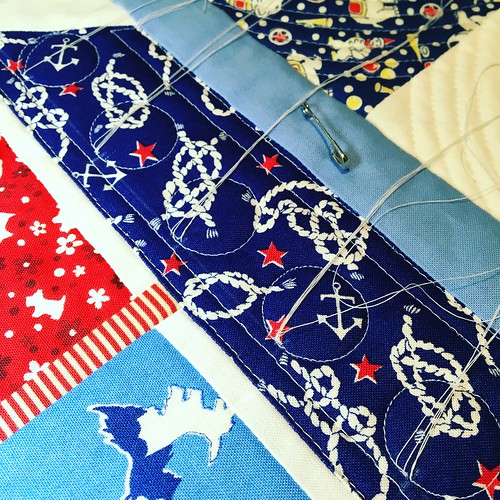
I don't think I've posted photos of the sailboat quilt on the blog before. I started this one back in April, I think, and am now trying to get it quilted.

IMG_6091

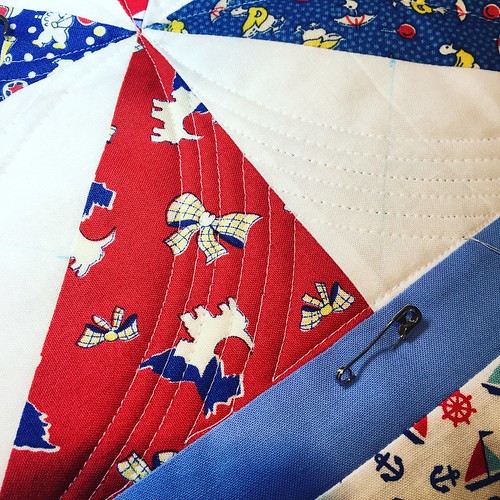
A couple of detail shots.
IMG_6093
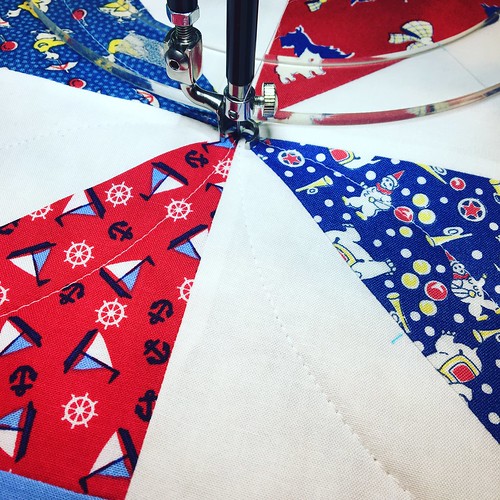
The Sweet Sixteen and I are still getting to know each other.
IMG_6048
I'm also using this quilt to practice my ruler skills, which is slowing down the process a lot!
IMG_6041
OK, I'm now going to publish this post, then run down to my PC to see how it turned out.
Fingers crossed.

Wednesday, April 20, 2016

Happy Accidents

As I've posted before, I'm making Splendid Sampler blocks along with thousands of other quilters and loving it!


Sunday's block is really cute!
I was a little weary of all the tiny pieces, so I decided foundation piecing was the way to go. I figured out the numbering, printed the diagram, and made the sections. When it came to assembly, I realized I hadn't mirrored the diagram. Rookie mistake!

Since I'd already made everything, I decided to see if it'll be OK if the block was a little "twisted".

Then anal retentive me looked at the design and realized that a tape measure will not look like that when folded in that way.
This actually played in my favor because my block was turned around.
The words, however, were not going to fit as designed. Another happy accident however!

Here's my block:
Different, but I like it.

If you haven't made the block yet and would like to try foundation piecing it, my numbering was as follows:
Just remember that you'll have to mirror the diagram, which I didn't. The numbering will still work.