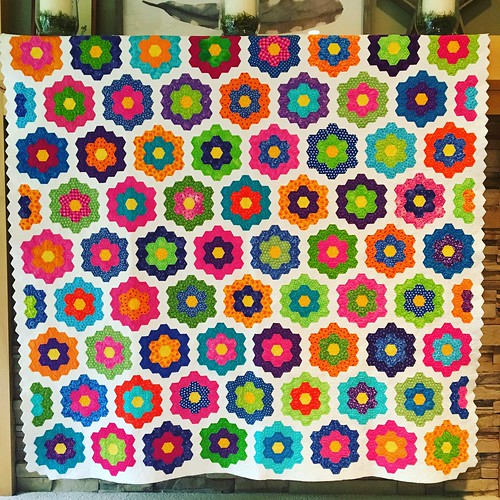
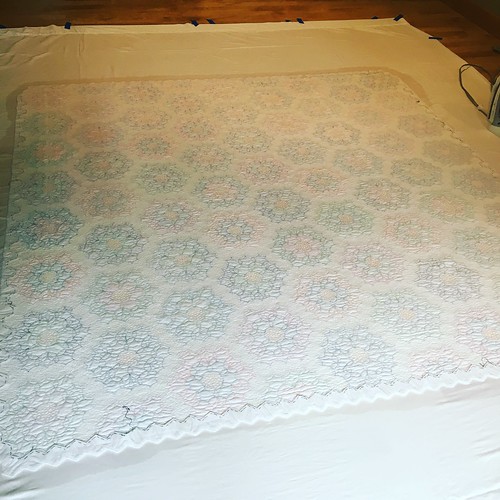
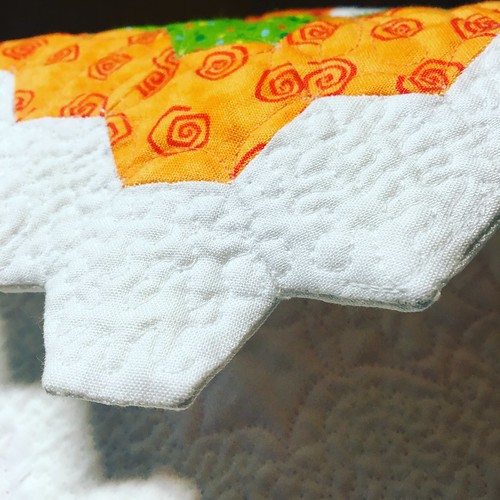
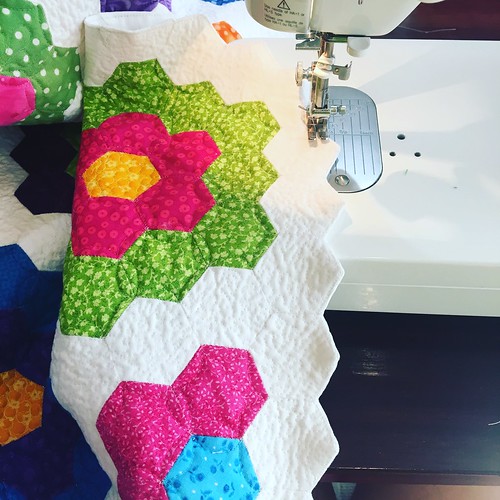
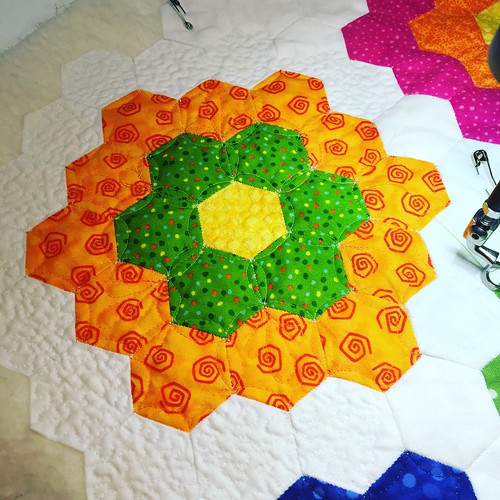
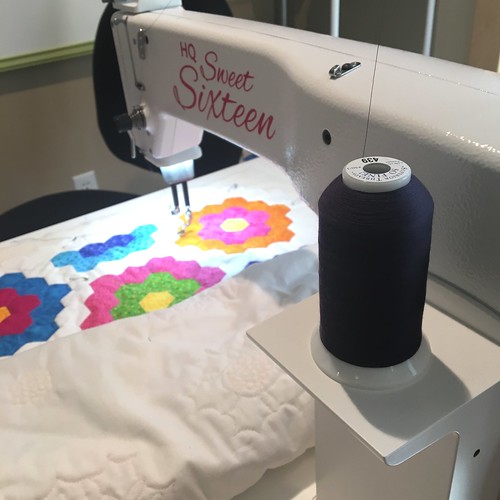
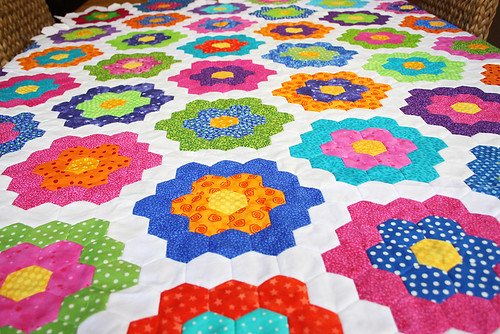
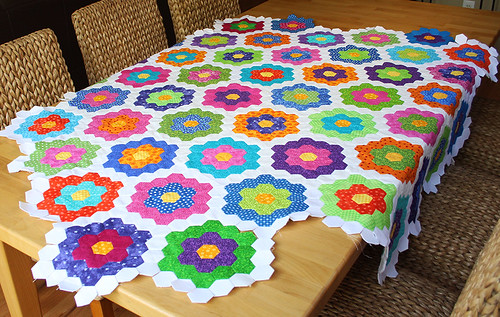
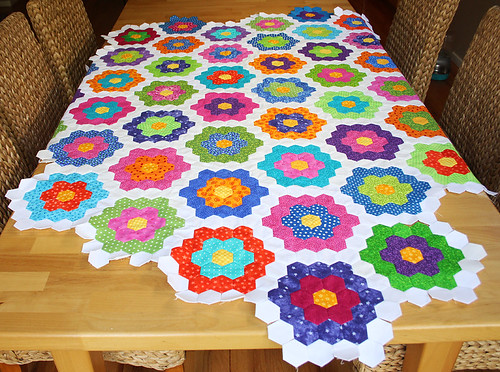
I'm quilting (and will be for a long, long time) the Stash Dash Quilt in 15 minute increments to save my poor neck and shoulders. It's 67"x79" and I'm getting a lot of exercise pushing that sandwich through Bernie's little throat.
I thought I'd share my method for making Grandmother's Flower Garden hexagons today.
When I first contemplated making this quilt, the thing I dreaded most was having to cut hundreds of little hexagon templates out of cardboard or paper and then getting them to stay in place while I basted around the edge. Then one day I had an "Aha" moment as Oprah would say.
I print the template on freezer paper which I cut to letter size and then feed into the printer like a normal sheet of paper. Remember to print on the non-waxed side. I used this template.
To save even more on the cutting out time, I staple a blank sheet of freezer paper to the back of the printed one, allowing me to cut out two hexagons at a time. I tried adding more sheets (I'm lazy I tell you), but they slide, so two seems to be the maximum that can be done with accuracy (which is VERY important when making a hex quilt).

The next step is to iron the little hexagon templates to the wrong side of the fabric. Remember that you're going to need a 1/4" to 3/8" seam allowance when you cut them out so leave space between the hexes. Don't be scared to really iron them on so they don't come off too easily.

Let the fabric cool down flat before continuing to the next step or the hexagons will just pop off.
Cut out the hexagons leaving a 1/4" to 3/8" seam allowance around the edge.

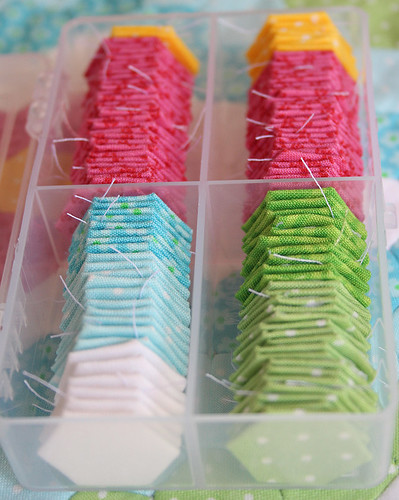
Now, because the freezer paper template is stuck to the fabric, it is much, much easier to accurately fold the seam over and baste around the edge to keep the shape. Baste only through the fabric, not the freezer paper and make sure to get the corners down securely. I normally double-baste at the corners. I "press" the fold with my nail when I fold it over to make sure it's a sharp edge Make sure you secure the corners well.

Voila, we're ready to whipstitch!
(For some amazing inspiration check out this Flickr group)

%20%20copy.jpg)