
%20%20copy.jpg)
It's the second Friday of 2019! I can already tell this year is going to fly by way too quickly.
As seems to be the case in many places, it's been unseasonably warm in Iowa. I have a whole bunch of pretty purples I'm aching to use, but it may not happen until the end of the year.
Here are my blocks for January 4-10:


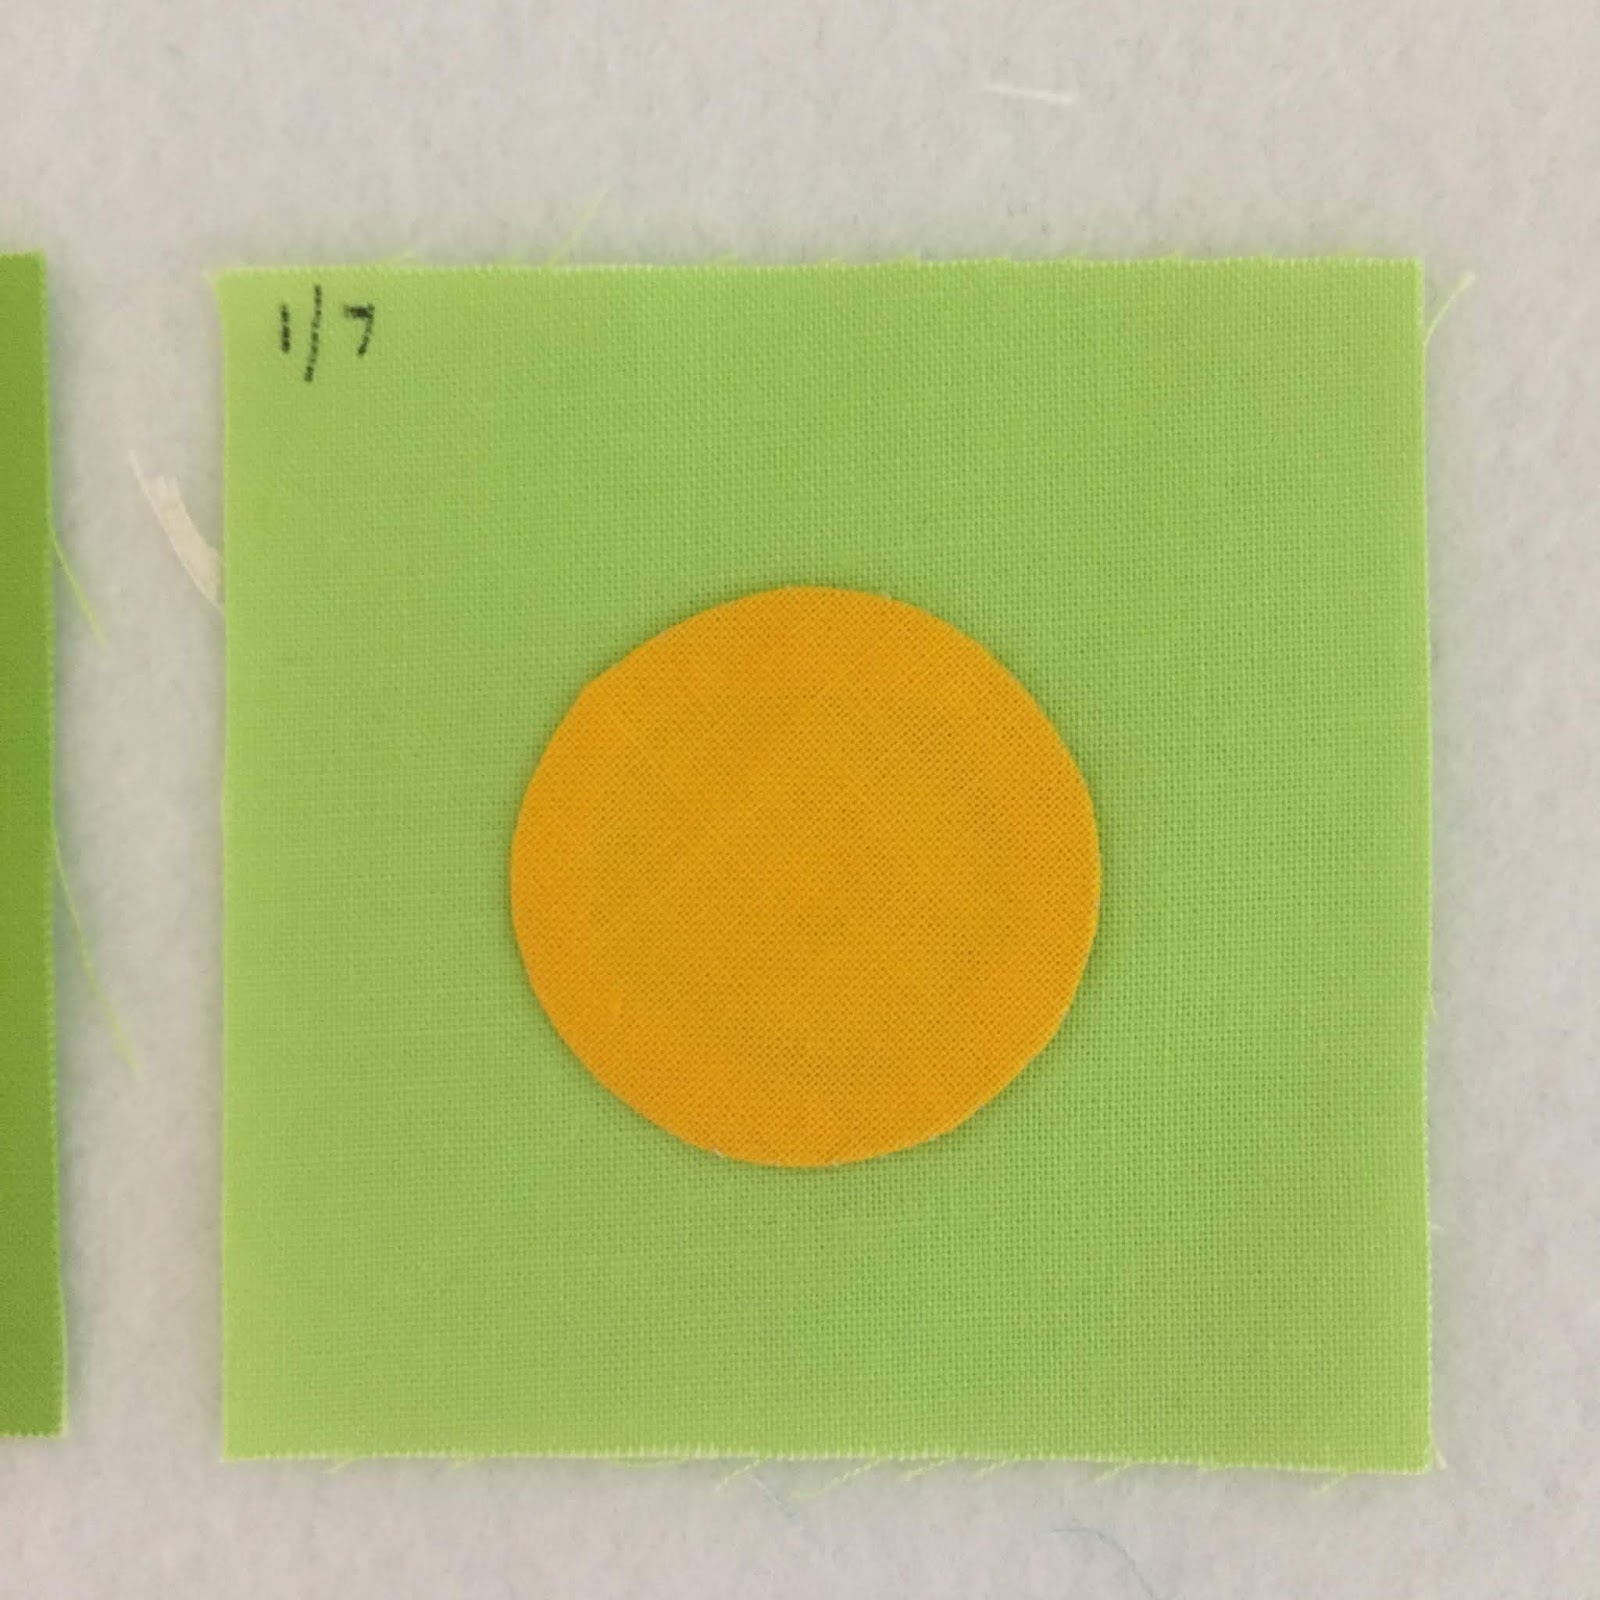


And all sewn together!

I've had a little change of heart regarding my layout. I was going to go left-to-right and row-by-row like reading a book, but after some deliberation, I think I am now going "snaky".
Yesterday I spend a little (OK, more than a little) time making a video showing how I make my appliquéd circles. It includes sharing all the tools I use.

You can find the video over here or in the sidebar.
I've also added a couple of little starter kits to the Etsy store if you're interested.

Now, let's share!
(If you have any trouble with this linky thingie, please let me know. I haven't done this in a while and I have a feeling Instagram may still be the best way to go.)
1. Be sure that, when you are filling in your information in the Linky form below, you include the URL to your specific post or photo, not just your main blog or profile address.
I need the address of the page where your photo and/or post is, not the whole account.
2. You can share blog posts, Instagram posts, Pinterest posts, and photos on Flickr. You CANNOT share Facebook posts.
3. Please include the following link in your post, which will allow everyone to see our shared posts: https://twiddletails.blogspot.com/2019/01/temperature-quilt-along-week-2.html
4. And...please use the hashtag #tempquiltalong.
Inlinkz Link Party
Showing posts with label applique circles. Show all posts
Showing posts with label applique circles. Show all posts
Friday, January 11, 2019
Temperature Quilt Along - Week 2

Thursday, November 19, 2015
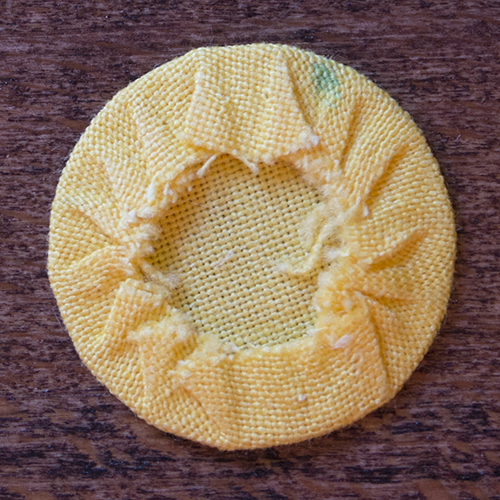
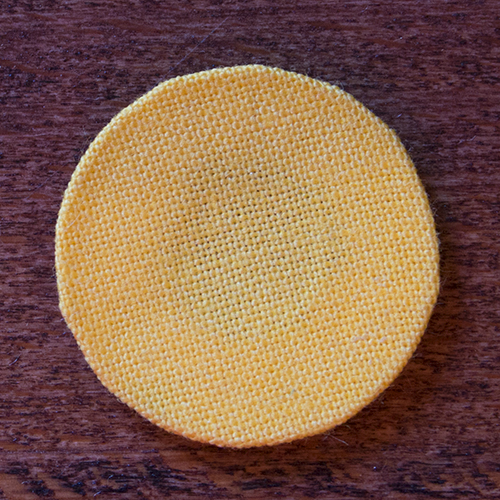
Making Circles for Appliqué
Since I last posted I've completed almost two of the 4 appliqué blocks for the Oopsie Daisy quilt.
I also discovered that I "only" have to make 84 petals, not 86 as I previously thought. Phew, what a relief!
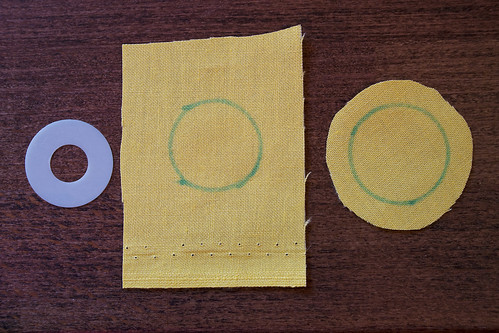
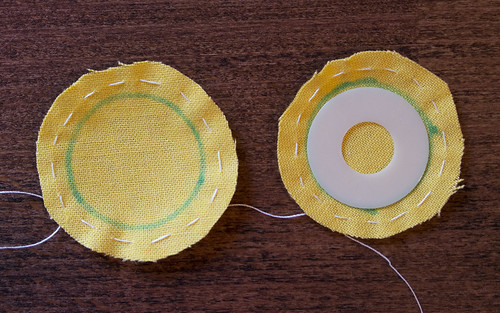
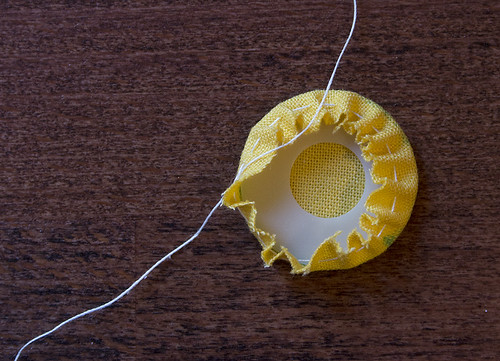
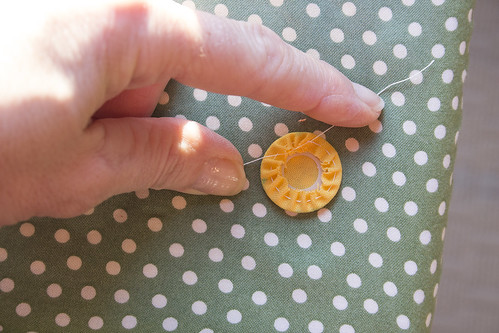
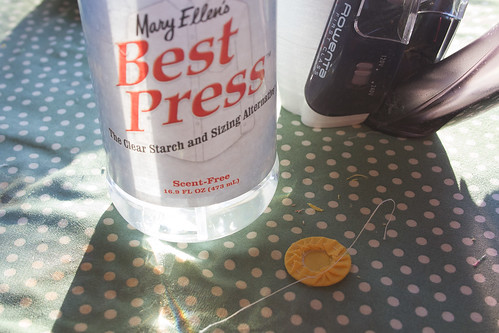
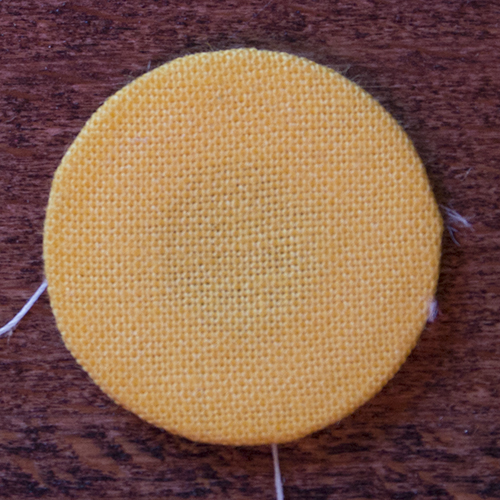
The center of each little flower is a circle. I thought I'd share my method for making perfect (or as perfect as I'm going to get them) circles.
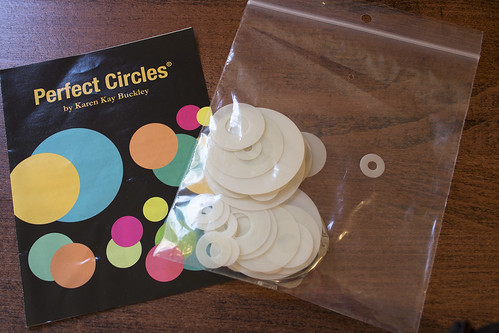
You'll need: a circle template in your preferred size - something sturdy like plastic or cardboard, spray starch - I like Mary Ellen's Best Press, an iron, needle and thread and, of course the fabric you want to make the circles out of.
My preferred templates for circles are Karen Kay Buckley's "Perfect Circles". There is an assortment in each package with multiples of the same size. You should be able to find these at your LQS. You can, of course, make your own templates, but I find I can never cut them perfectly smooth.
Subscribe to:
Posts (Atom)


